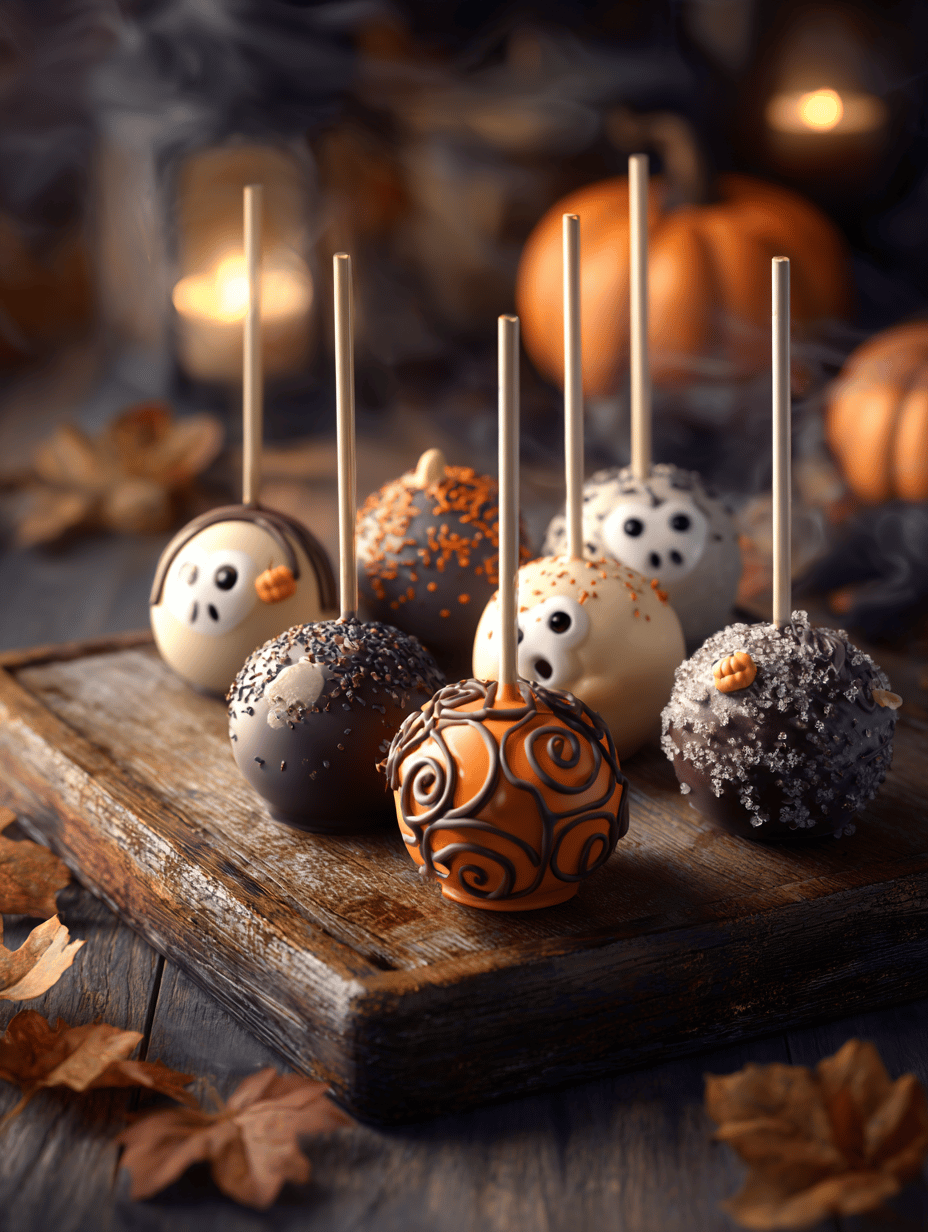
Cake pops have always been a fun, bite-sized way to enjoy cake with a bit of whimsy. This year, I wanted to give them a Halloween spin—more playful, more daring, yet still simple enough to whip up in a couple of hours. The trick is in the details: spooky decorations and a touch of nostalgia, wrapped into each bite.
Why These Halloween Cake Pops Keep Calling Me Back
They’re quick to make, endlessly customizable, and always a hit at parties. The process brings a little chaos, a lot of joy, and the chance to get creative with decorations. Plus, the smell of melting chocolate and the sight of tiny spooky figures? Irresistible. It’s a messy, happy ritual that feels just right for the season.
Key Ingredients and How to Make Them Work for You
- Dark chocolate or candy melts: The base coating; opt for high-quality for a glossy finish.
- Baked cake (any flavor): The core—vanilla or chocolate works well, but pumpkin spice adds seasonal flair.
- Frosting: Helps bind the crumbs; cream cheese frosting adds tang.
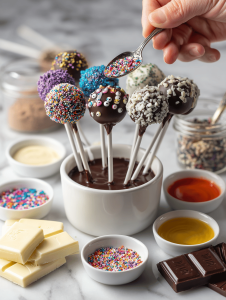
- Decorative sprinkles or edible eyes: For that spooky, fun finishing touch.
- Lollipop sticks: Handle the pops; wooden or plastic, choose what’s handy.
- Food coloring or gel: Adds vibrant or eerie hues to your coatings.
- Edible markers or piping gel: For detailed, spooky decorations.
Tools and Equipment for Spooky Cake Pop Making
- Double boiler or microwave: Melts chocolate smoothly without burning.
- Mixing bowls: Combines cake crumbs and frosting.
- Lollipop sticks: Handles for each cake pop.
- Cooling rack: Allows excess coating to drip and sets evenly.
- Decorating tools: Adds fine details and decorations.
Step-by-Step Guide to Spooky Cake Pop Crafting
Step 1: Start by melting your chocolate—use a double boiler or microwave in 20-second bursts. Stir until smooth, then let it cool slightly to avoid melting your cake when dipping.
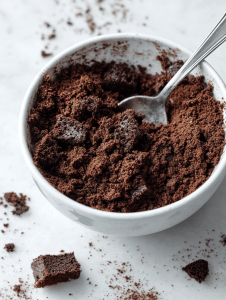
Step 2: Crumble the baked cake finely in a large bowl. Mix in a generous dollop of frosting—enough to hold the crumbs together but not sticky. Roll into small balls, about the size of a walnut.
Step 3: Insert a lollipop stick into each cake ball, then chill in the fridge for at least 30 minutes until firm.
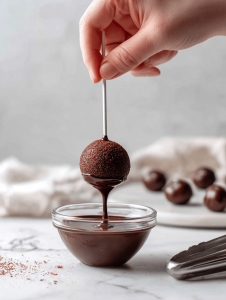
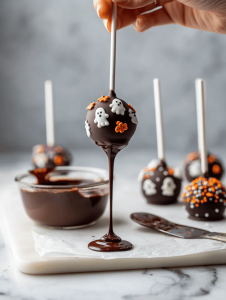
Step 4: Dip each cake pop into the melted chocolate, swirling to coat evenly. Tap off excess, then decorate with spooky sprinkles or edible eyes before the coating sets.
Cooking Checkpoints and Tips for Perfect Cake Pops
- Ensure cake crumbs are completely cooled before mixing with frosting to avoid sticky dough.
- When dipping, use a gentle swirl and tap off excess to prevent drips and uneven coating.
- Watch chocolate temperature: too hot and it won’t stick; too cool and it won’t flow.
- chill the decorated pops briefly to make handling easier and decorations more secure.
Common Mistakes and How to Fix Them
- Chocolate sets too quickly or cracks.? Use room temperature chocolate to avoid cracking.
- Cake balls fall apart in the chocolate.? Chill cake balls thoroughly before dipping.
- Cake mixture is too sticky or crumbly.? Adjust frosting amount for consistency.
- Chocolate or decorations melting or sliding off.? Work in a cool, dry room.
Halloween Cake Pops
Ingredients
Equipment
Method
- Crumble the cooled baked cake finely in a large mixing bowl until it resembles coarse crumbs, releasing a sweet, baked aroma.
- Add the frosting to the cake crumbs and mix thoroughly using a spoon or your hands until the mixture is evenly combined and holds together when pressed.

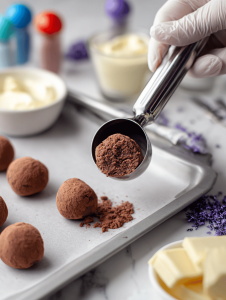
- Roll the mixture into small balls about the size of a walnut, feeling the dough firm up as you shape each one.

- Insert a lollipop stick into each cake ball, then place them on a tray and chill in the refrigerator for at least 30 minutes to firm up.
- While the cake pops chill, melt the dark chocolate or candy melts in a double boiler or microwave in 20-second bursts, stirring until smooth and glossy, then let cool slightly.

- Dip each chilled cake pop into the melted chocolate, swirling gently to coat evenly, then tap off excess chocolate on the edge of the bowl.

- Decorate the coated cake pops with spooky sprinkles or edible eyes before the chocolate sets, pressing decorations lightly to adhere.
- Place the decorated cake pops upright on a cooling rack and allow the chocolate to fully set, about 20-30 minutes, in a cool room or refrigerator.
- Once the coating is firm and shiny, carefully handle each cake pop and serve on a platter for a fun Halloween treat.
Notes

Welcome to Owning This Stove. I’m so glad you’re here. I’m a food blogger, recipe developer, and storyteller who believes food is one of the most honest ways to understand a place, a person, or a moment in time. This blog is where I collect those moments, from quiet mornings in unfamiliar kitchens to crowded cafés filled with conversation and clinking cups.